Last Updated on 15/11/2020

This tutorial will show how to install Spring Tool Suite on Eclipse and also the option to download and run the stand-alone version of the suite.
The Spring Tool Suite (STS) is an Eclipse based toolbox for Spring development, containing features such as a Boot Dashboard, support to the whole Spring ecosystem and native integration with Maven, Gradle and Git.
Pre-requisites
- Java Development Kit – click on Windows, Ubuntu or CentOS/RHEL to follow to the tutorial
Spring Tool Suite on Eclipse
On your Eclipse menu, go to Help -> Eclipse Marketplace…
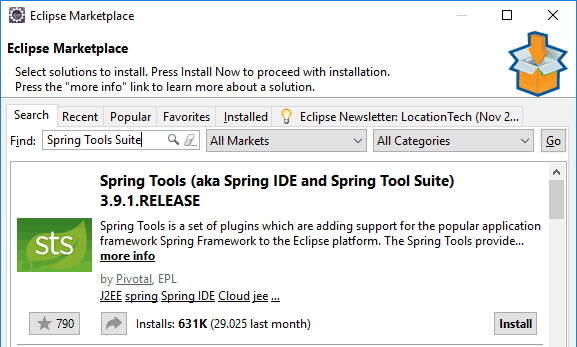
Into the Search… tab, type Spring Tools Suite and press Enter. The search should return the a Spring Tools Suite plugin, similarly to the image below:

Click on Install, accept the license agreement and proceed with the installation process until it is finished. The installation wizard will also propose to restart Eclipse.
After Eclipse re-initialisation, your will be ready for Spring development and will immediately notice some a few changes in your IDE.
Stand-alone Spring Tool Suite
The second option is to download and run the standalone Spring Tool Suite. If you don’t have an Eclipse already, this alternative may fit you since it might be a bit faster and you will end up with the same capabilities as the Eclipse plugin.
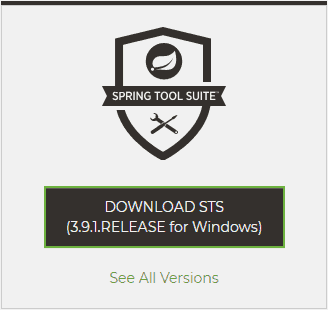
Go to Spring Tool Suite download page and download the latest release clicking on the button below:

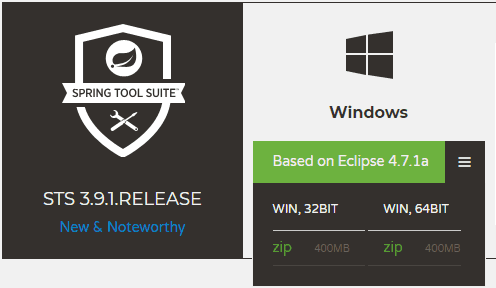
Please note that the downloaded version is going to be 32 bits so your JDK must also be 32 bits to work. However, you can click on See All Versions to pick a 64 bits version on the next page:

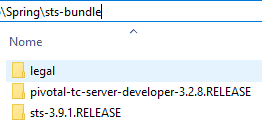
The download may take a while since the file is currently quite big (400 MB). After the download is finished, unzip its contents so you will have a resulting folder like the following:

Finally, go to the sts-* folder and run the STS.exe to start your stand-alone IDE:

Hope it helps.
Cya!