Last Updated on 12/11/2020

This tutorial will show how to install Eclipse Mars IDE on Windows and Ubuntu, and install Java web development plugins.
Pre-requisites
- Java Development Kit – click here to follow to tutorial.
Installation
Windows
Go to Eclipse Downloads page to download the appropriate Eclipse IDE for Java Developers (32 ou 64 bits). Unzip the downloaded .zip file and run the eclipse.exe file. Create a shortcut for it.
Ubuntu
Similarly to Windows installation, go to Eclipse Downloads page and download Eclipse IDE for Java Developers for your Ubuntu.
Go to the directory where you downloaded Eclipse file, usually, it resides on /home/username/Downloads. Unzip the downloaded file:
cd /home/bruno/Downloads
sudo tar -xvf eclipse-java-mars-R-linux-gtk-x86_64.tar.gz
A directory named eclipse will be extracted. Move it to /opt folder:
sudo mv eclipse /opt
Create a file named eclipse.desktop on /usr/share/applications directory:
sudo gedit /usr/share/applications/eclipse.desktop
When the above command if typed. the created file will be shown on text editor, then add the following lines:
[Desktop Entry]
Name=Eclipse Mars
Type=Application
Exec=/opt/eclipse/eclipse
Terminal=false
Icon=/opt/eclipse/icon.xpm
Comment=Integrated Development Environment
NoDisplay=false
Categories=Development;IDE;
Name[en]=Eclipse
Save this file by clicking on File -> Save on text editor window.
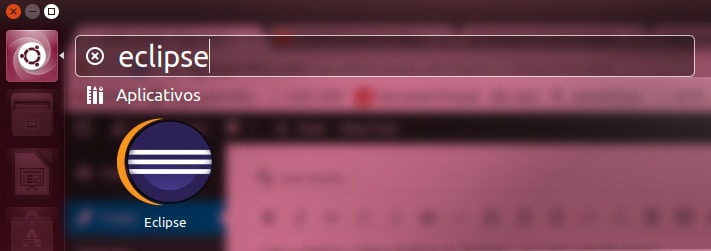
By finishing the above steps, the Eclipse IDE can now be found by searching for installed programs:
Plugins
Nowadays, the are several ways for installing plugins that assist Java web development, like installing WTP (Web Tools Platform) plugins, or by just downloading Eclipse IDE for Java EE Developer. However, the easiest and more consistent way to install those plugins that I’ve found after spent a few hours facing incompatibility problems, is the following proposed way, by using the Eclipse basic installation, instead of Eclipse EE.
We are going to install JBoss Tools plugin, which automatically add to Eclipse the most used plugins for web development, such as Git, servers support, editor for web languages such as HTML, CSS, and so on.
JBoss Tools
On your Eclipse menu, go to Help -> Eclipse Marketplace…
On Search… tag, type JBoss Tools and press Enter. The search should return the a JBoss Tools 4.3.0.Beta2 plugin, similarly to the image below:
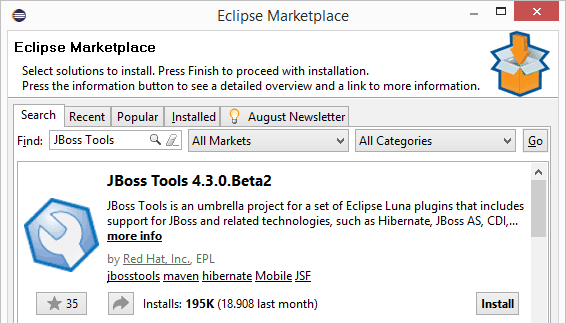
Click on Install, accept the license agreement and proceed with the installation process until its conclusion. The wizard will also propose to restart Eclipse.
After Eclipse re-initialization, your Eclipse will be ready for Java web applications development, and yes, it’s simple like that.
Hope it helps. Cya!